
Side Door Fiasco: Rebuilding a Collapsed Portico
The Importance of a Properly-Built Front Door Portico
This past week, I’m working on a job that shows why it’s so important to build things the right way. A frantic client calls me after their front door canopy crashes down. They were just inside with their grandkids, so I’m incredibly thankful no one was hurt. As I assess the damage, I’m surprised to see that the whole structure was just nailed to the side of the house. It’s built well, but without any solid attachment, the whole thing just gives up and falls (albiet after about 20 years). The cedar supports were starting to deteriorate, which definitely contributed to the collapse.
Rebuilding the Portico
Heavy duty bolts to secure the portico to the structure… this thing is not going anywhere anytime soon.
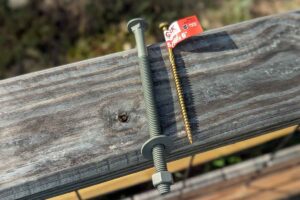
This is where I get serious. I’m bolting the header right into the house’s framing, which means drilling all the way through to the studs. This requires some work inside, patching up the drywall once I’m done. I use some heavy-duty 10-inch bolts to ensure a solid connection. For the supports, I’m going with GRK construction fasteners—these things are incredible and they’re not going anywhere.
Since I’m working on this alone, I have to get creative. I use some 2×4 studs to temporarily support the frame, holding it in place at the perfect angle. Once I have the frame secured, I can attach the new cedar 4×4 supports. These will be the primary vertical supports for the entire portico structure.
Finishing Touches and the Final Reveal
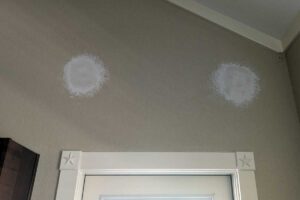
Drywall work on the inside… ready for some paint
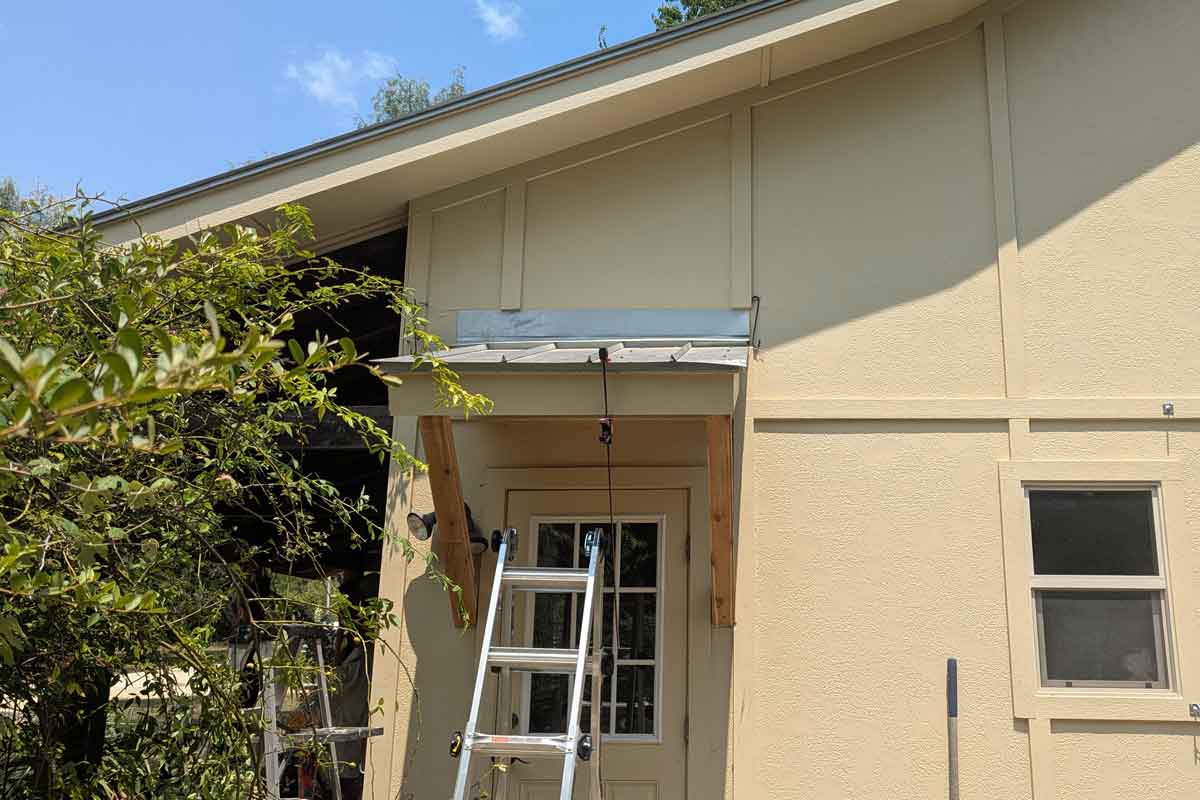
Now that the structure is solid, it’s time to rebuild the rest of the portico. I’m putting on the decking and installing the roof panels, making sure to add new flashing to prevent any water from getting in. I finish off the trim to give it a clean, finished look.
To really elevate the design and hide the guts of the structure, I’m adding some cedar pickets underneath the overhang. This gives it a professional and polished appearance, completely covering up the hardware and framing. It’s a small detail, but it makes a huge difference in the final look.
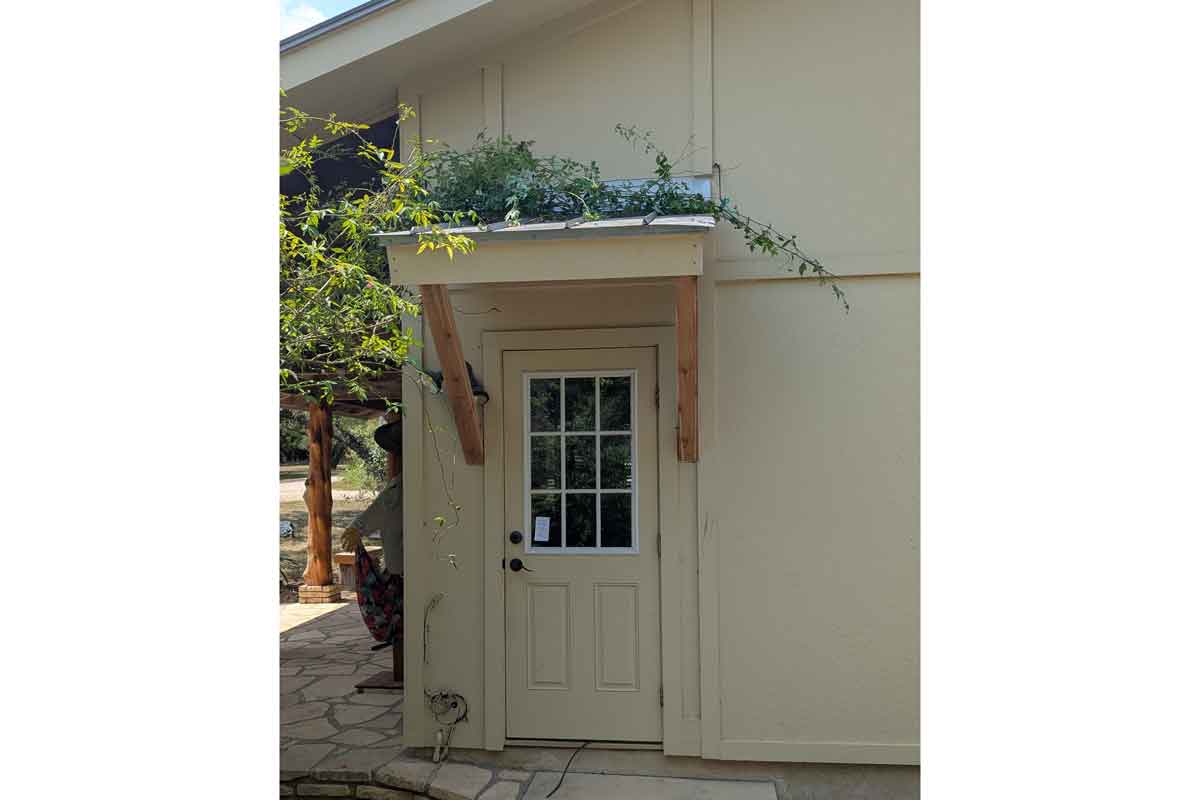
After all the construction work is complete, I go inside and repair the drywall. I patch and texture the wall, making it look as good as new. Finally, I help the client put their beautiful climbing rose bush back where it was, and then I clean up my work area. My client is thrilled with the result—the new portico is not only beautiful but also completely safe and secure. It’s a great feeling to know I’ve made their home safer and more beautiful at the same time.
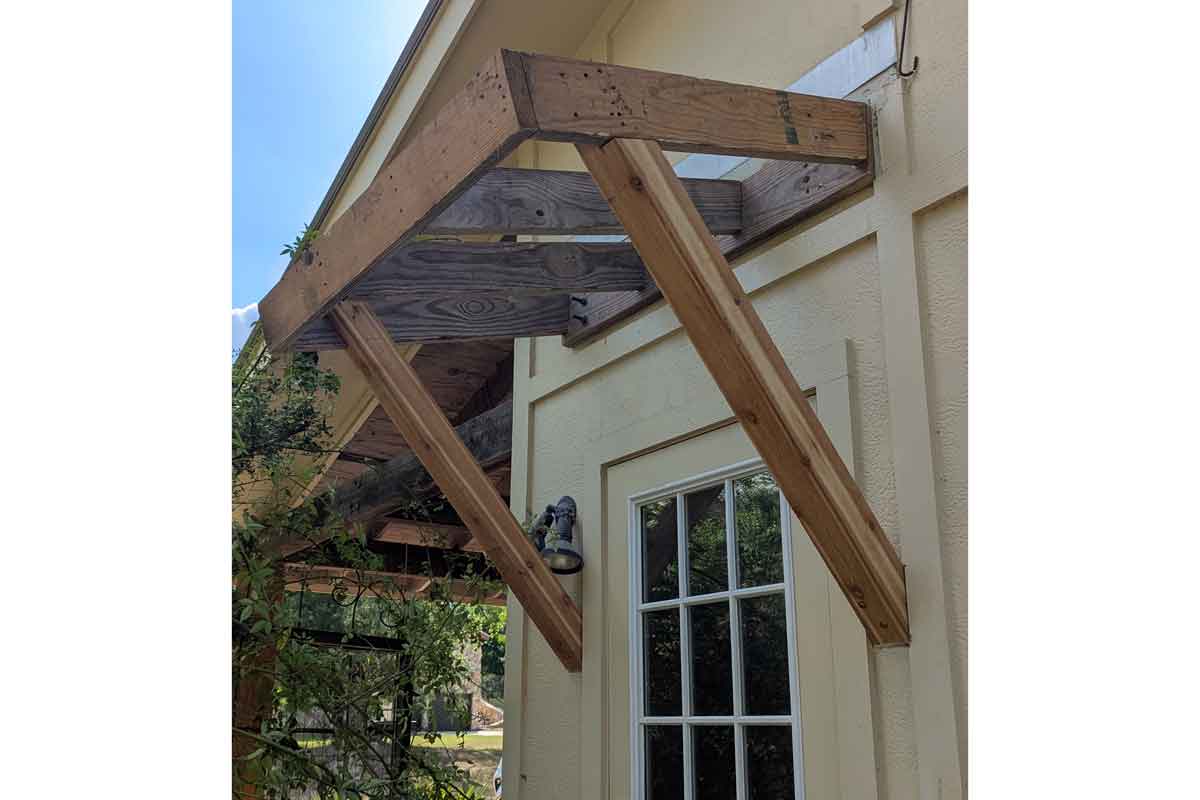
This is how I found the portico. For falling off the side of the house and crashing on concrete, it’s in pretty good shape!
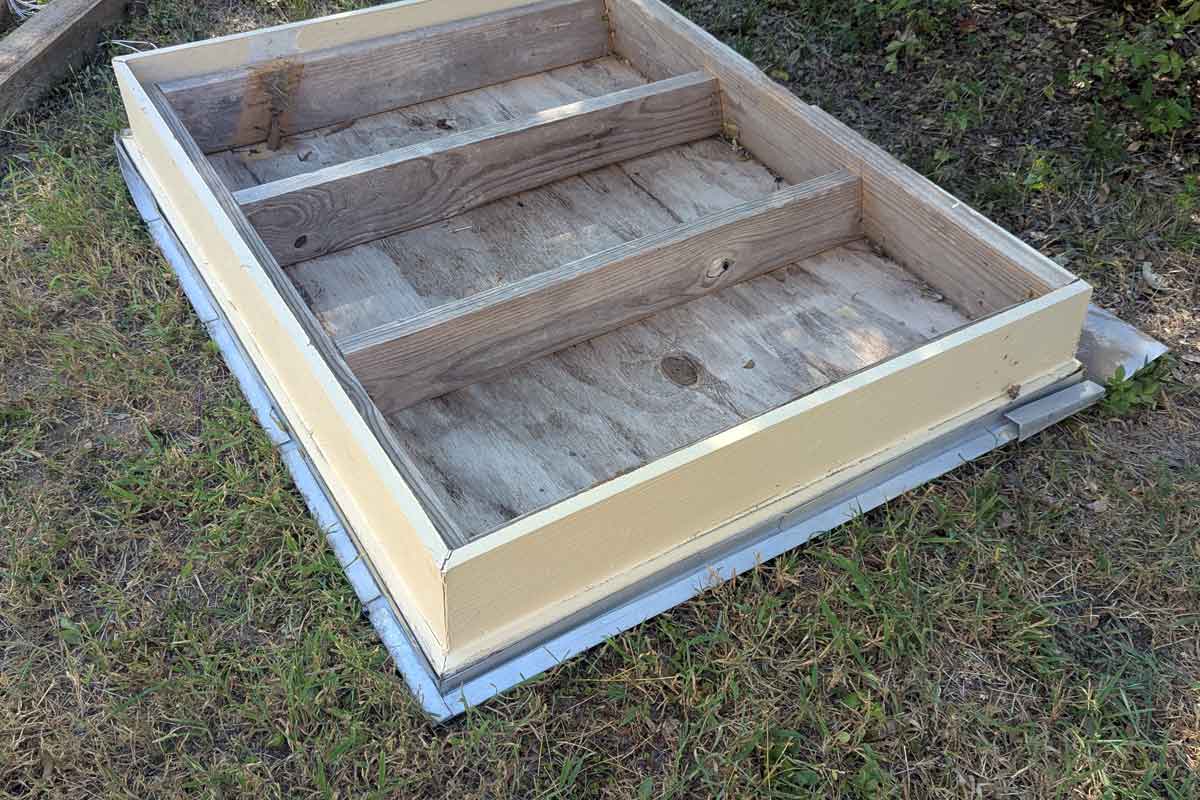
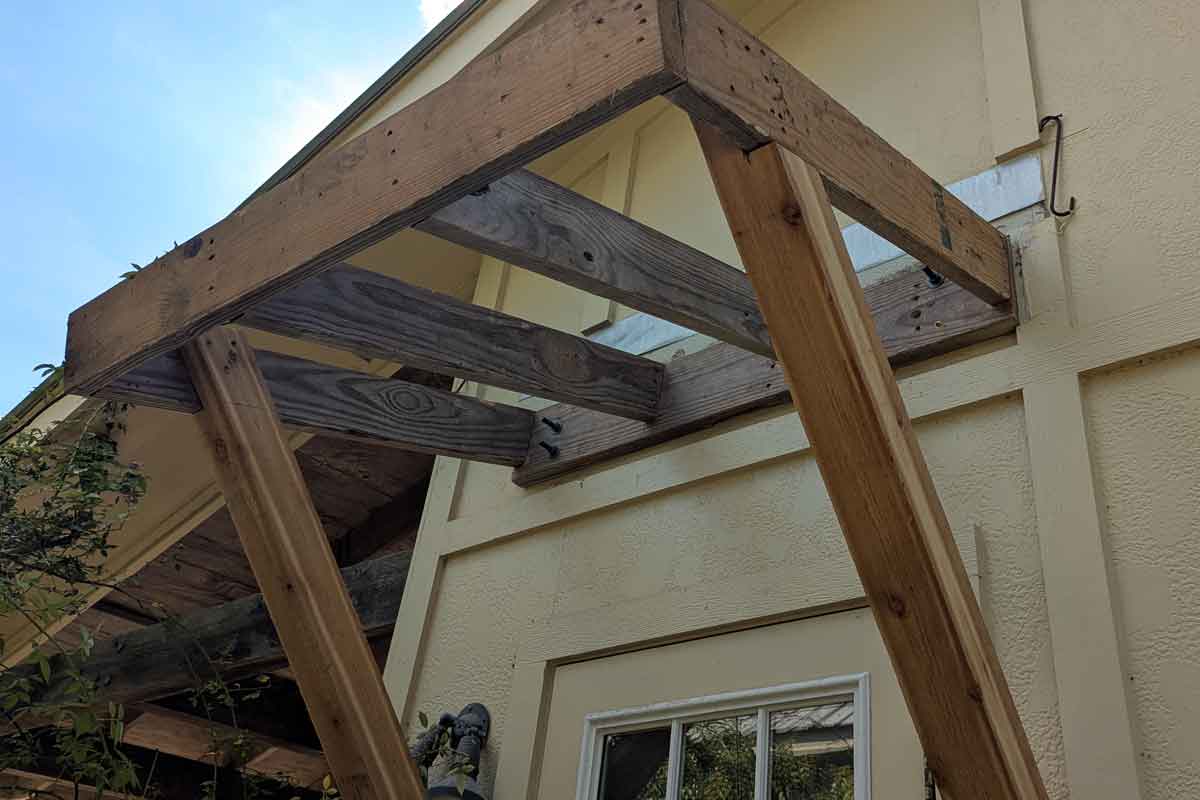
Here’s the underside of the portico. It’s in pretty good shape, but needs some screws to reinforce it
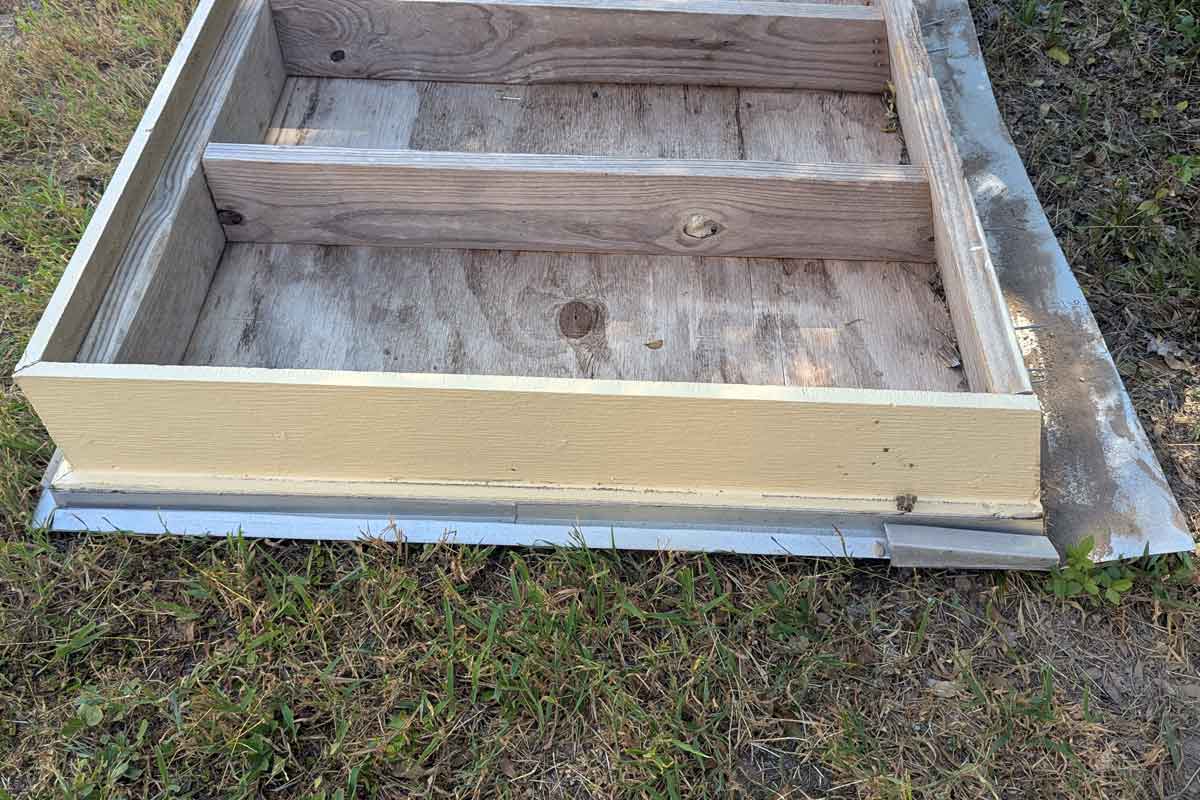
Another view of the underside
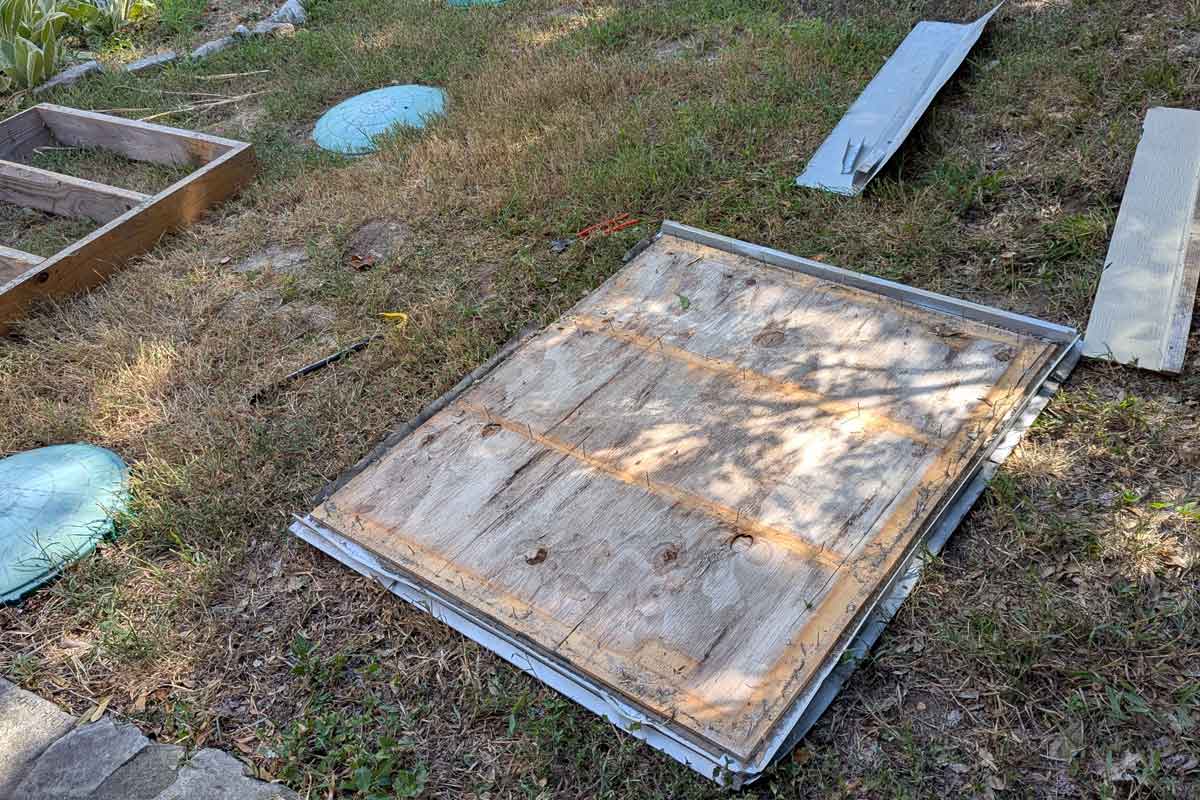
This is the portico after I took it apart
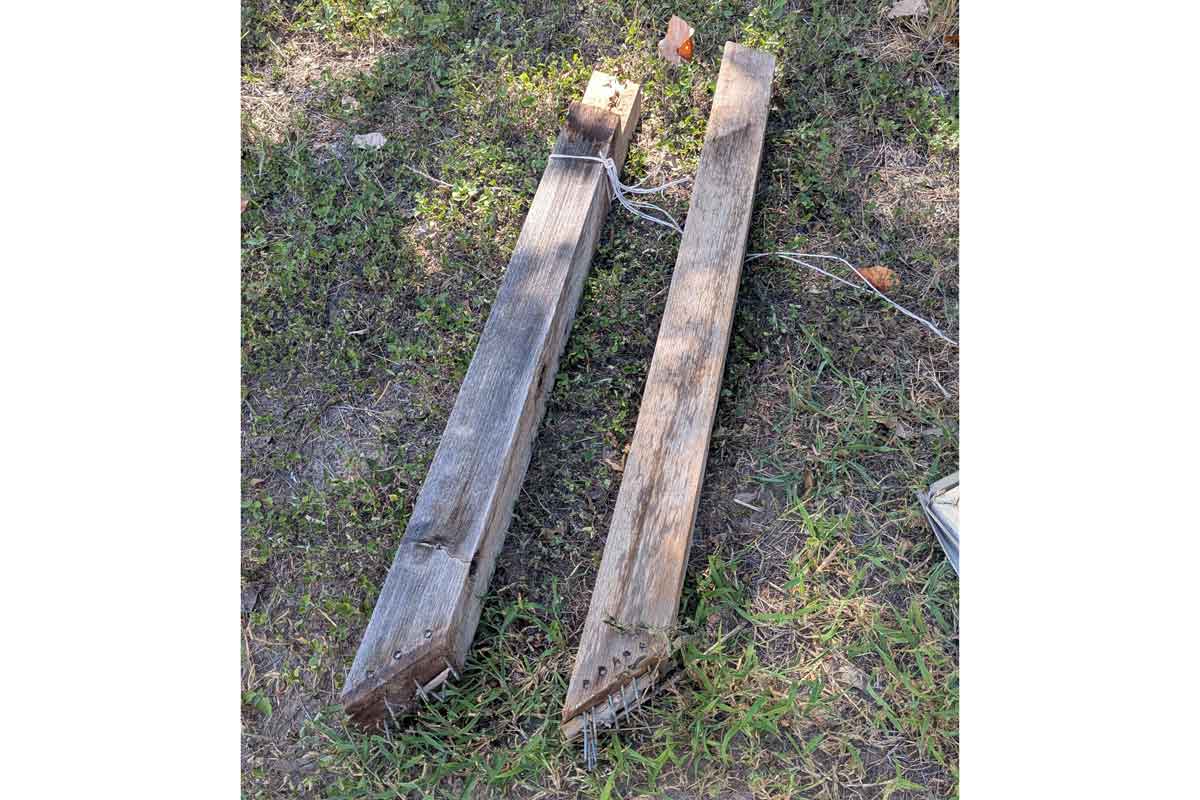
These are the old supports. They were too weather damaged to use, but I was able to use them as a template
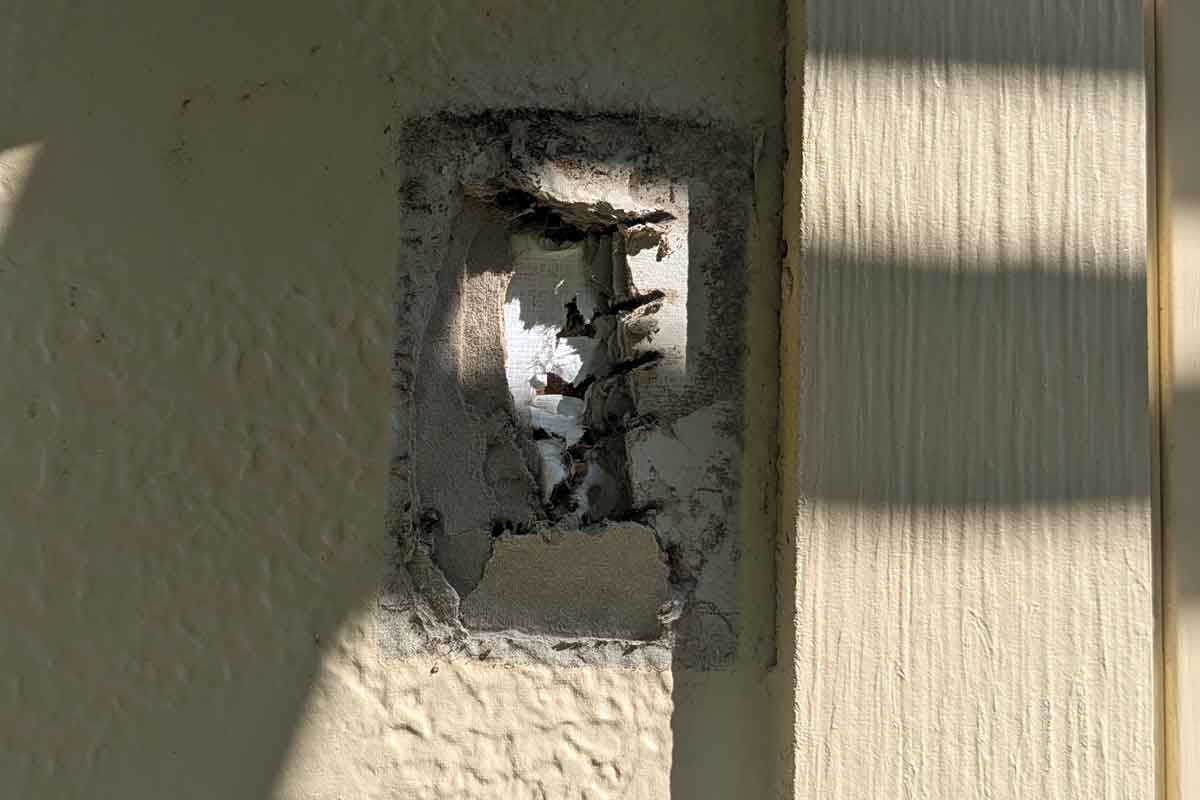
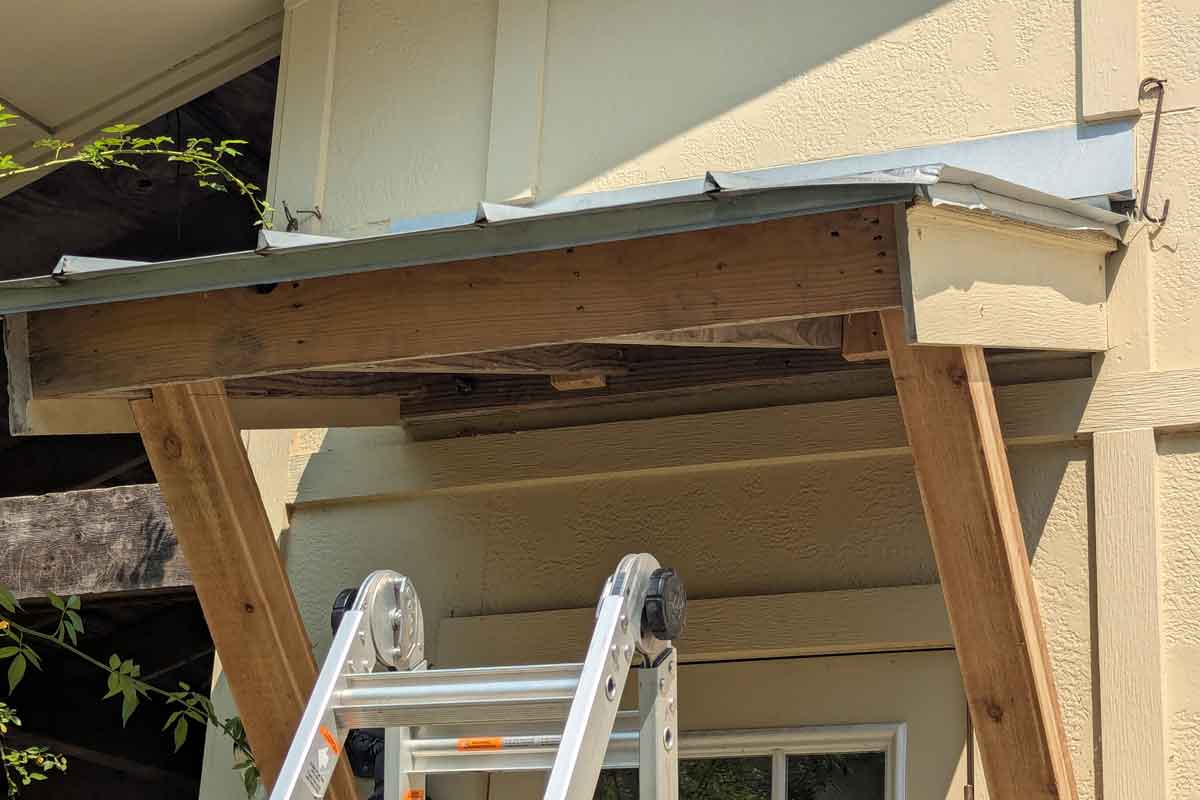
Here is where the supports were just toe nailed into the structure… crazy!
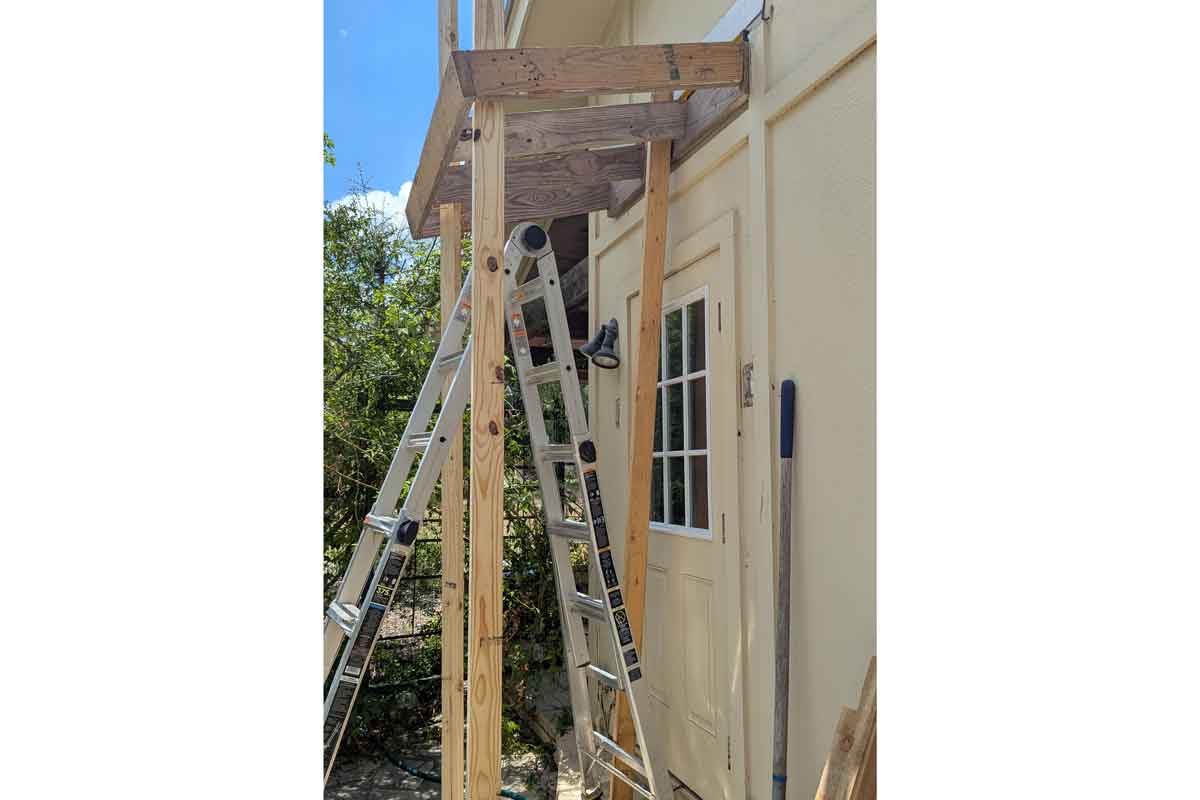
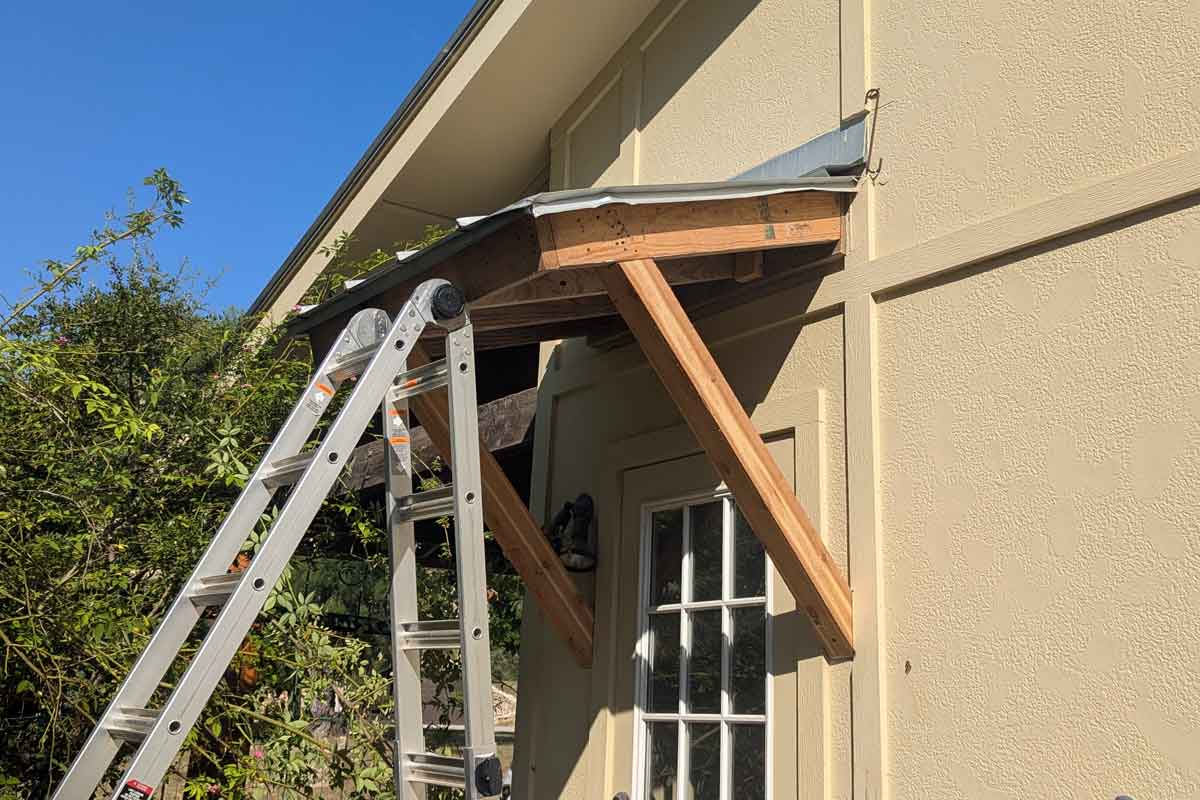
Frame is supported by 14′ studs while header is attached
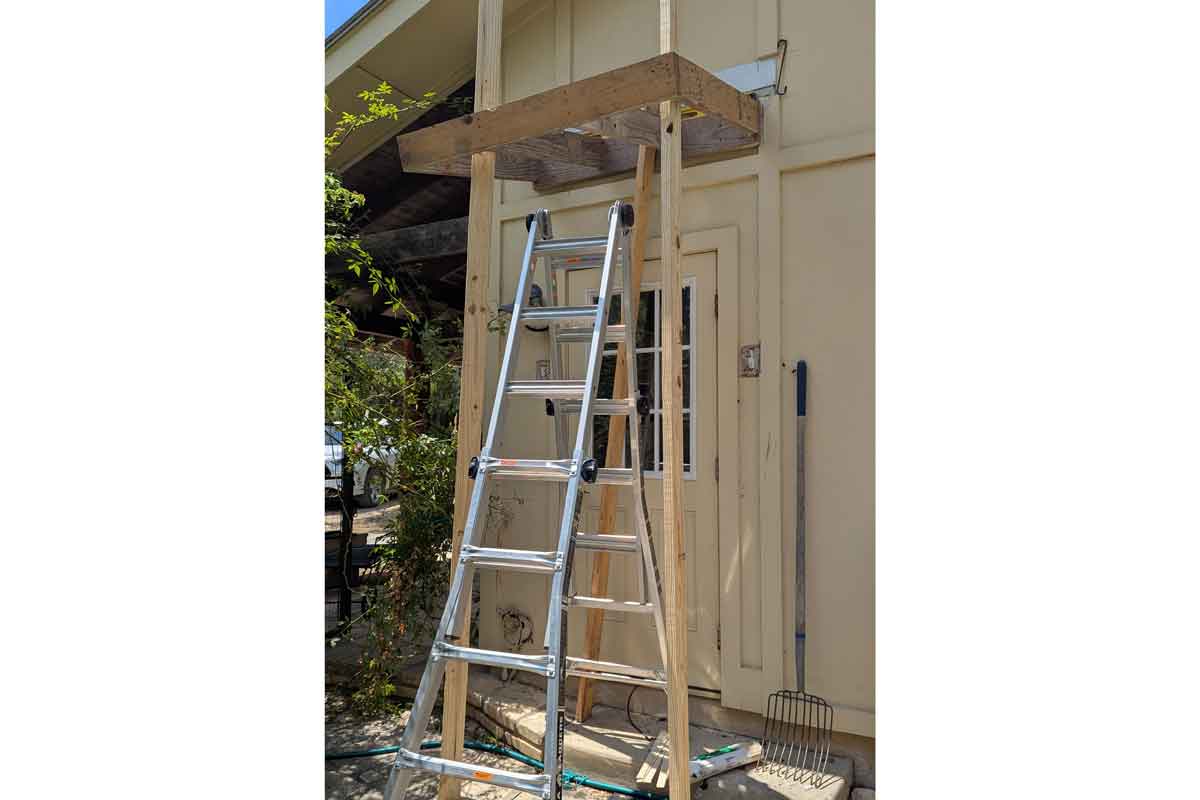
Attaching the header/frame
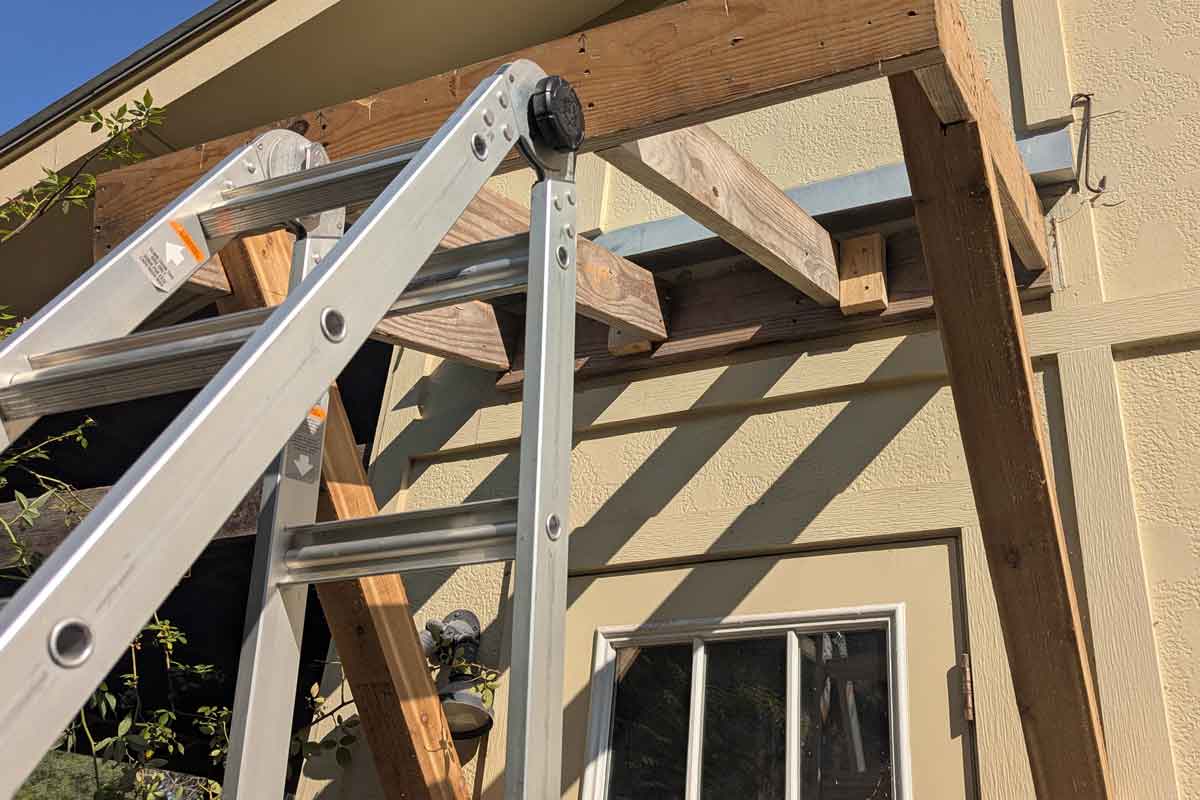
Frame is firmly attached to the structure
Side view of portico structure
The cedar posts are attached
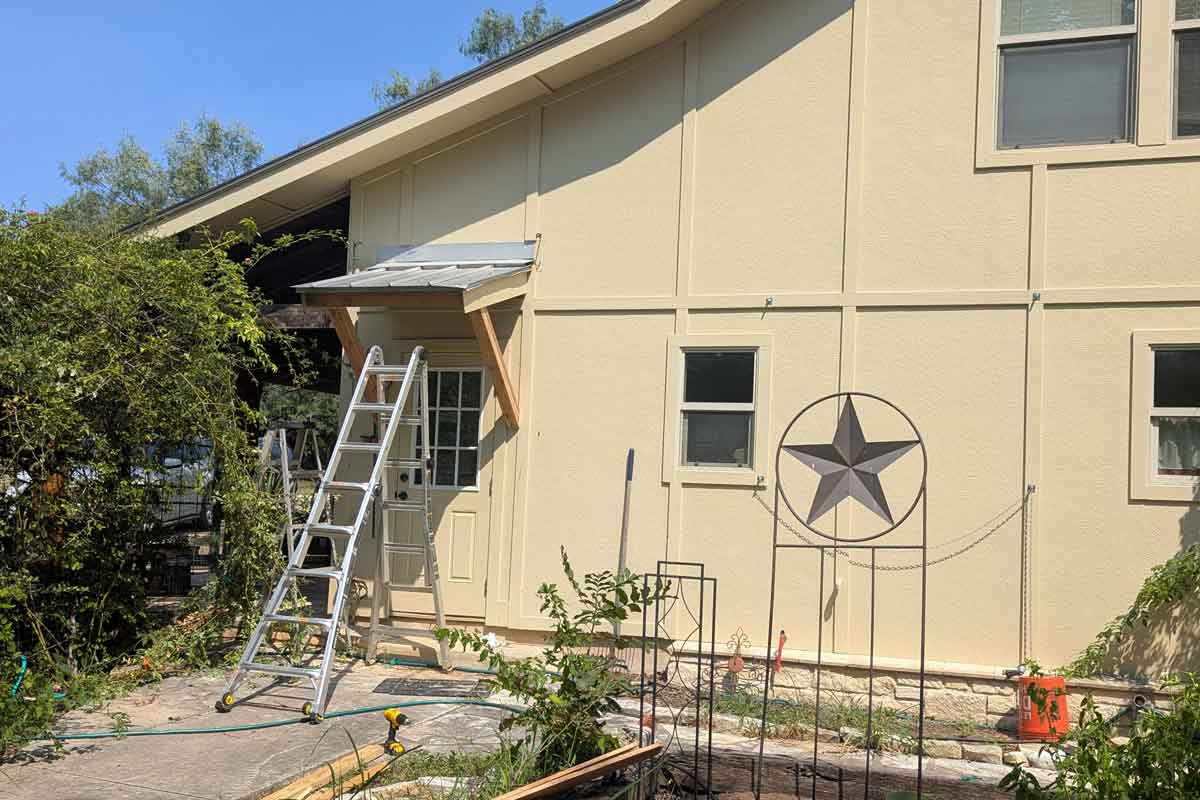
Side view of finished frame/roof
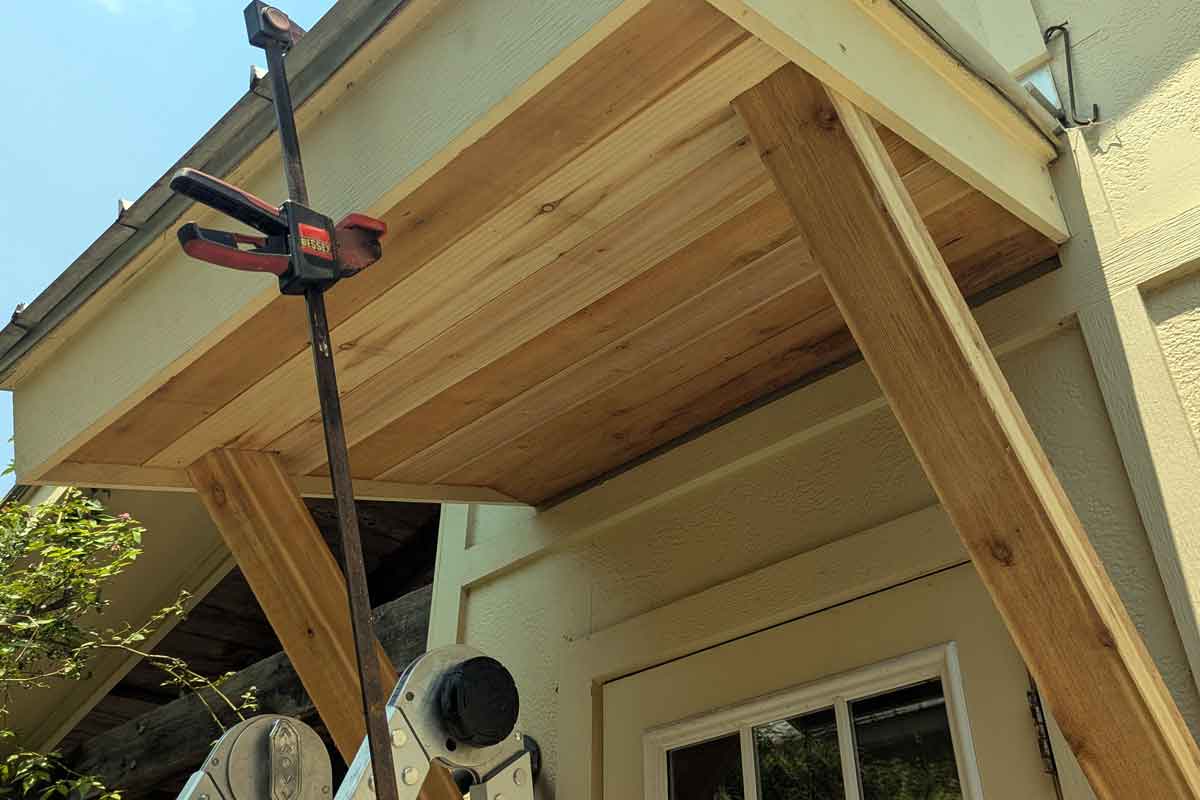
Finishing touch– cedar pickets cover up the framing
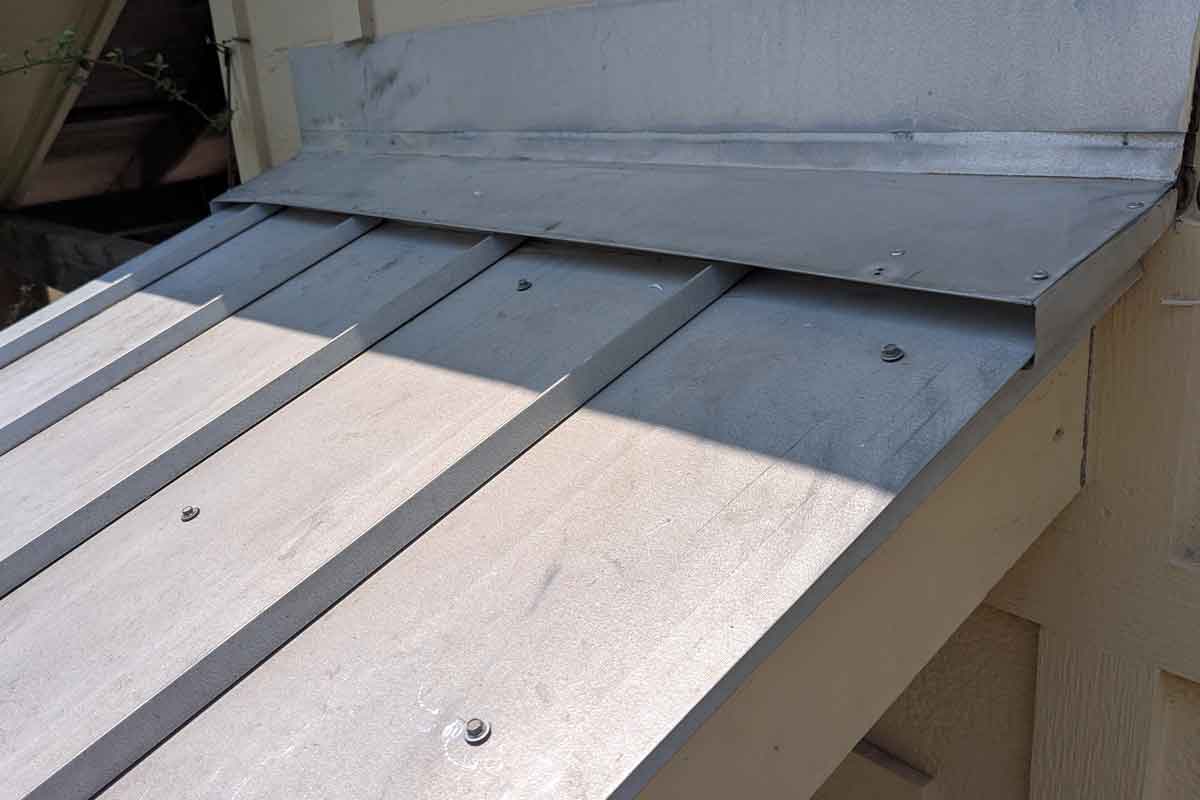
Roof attached to decking with metal roofing screws
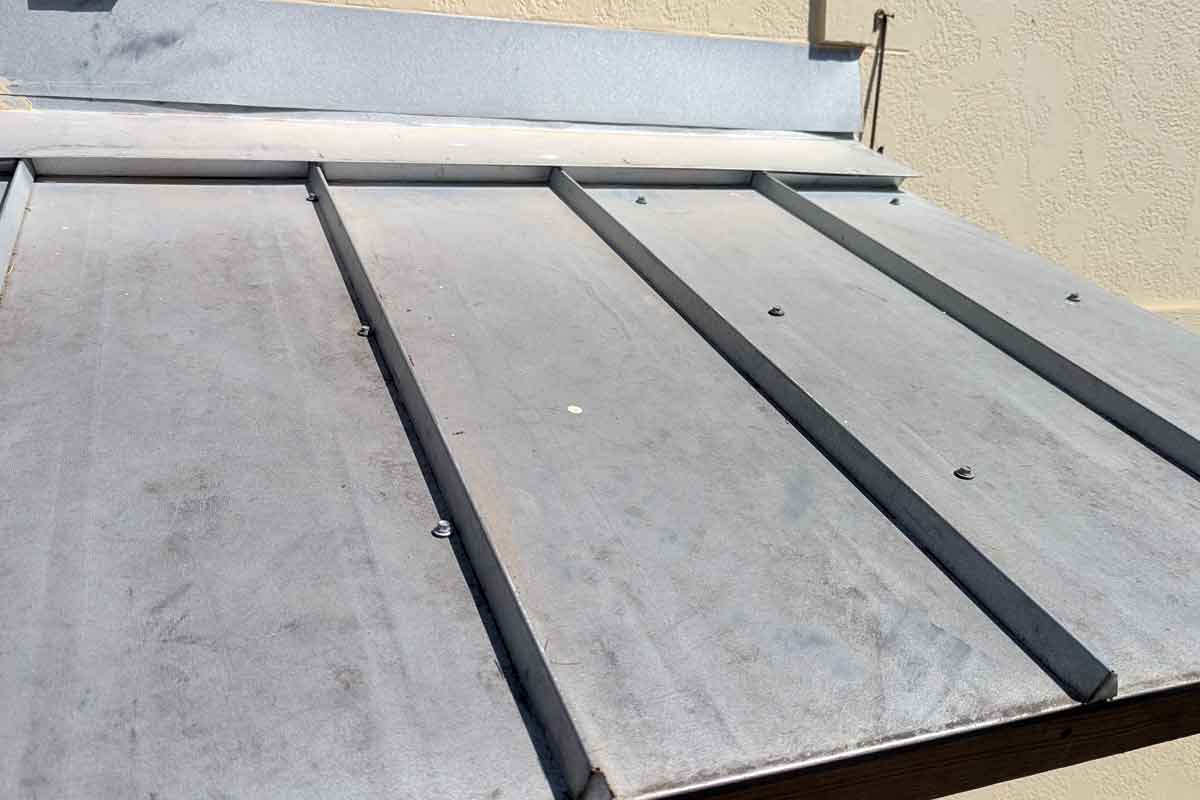
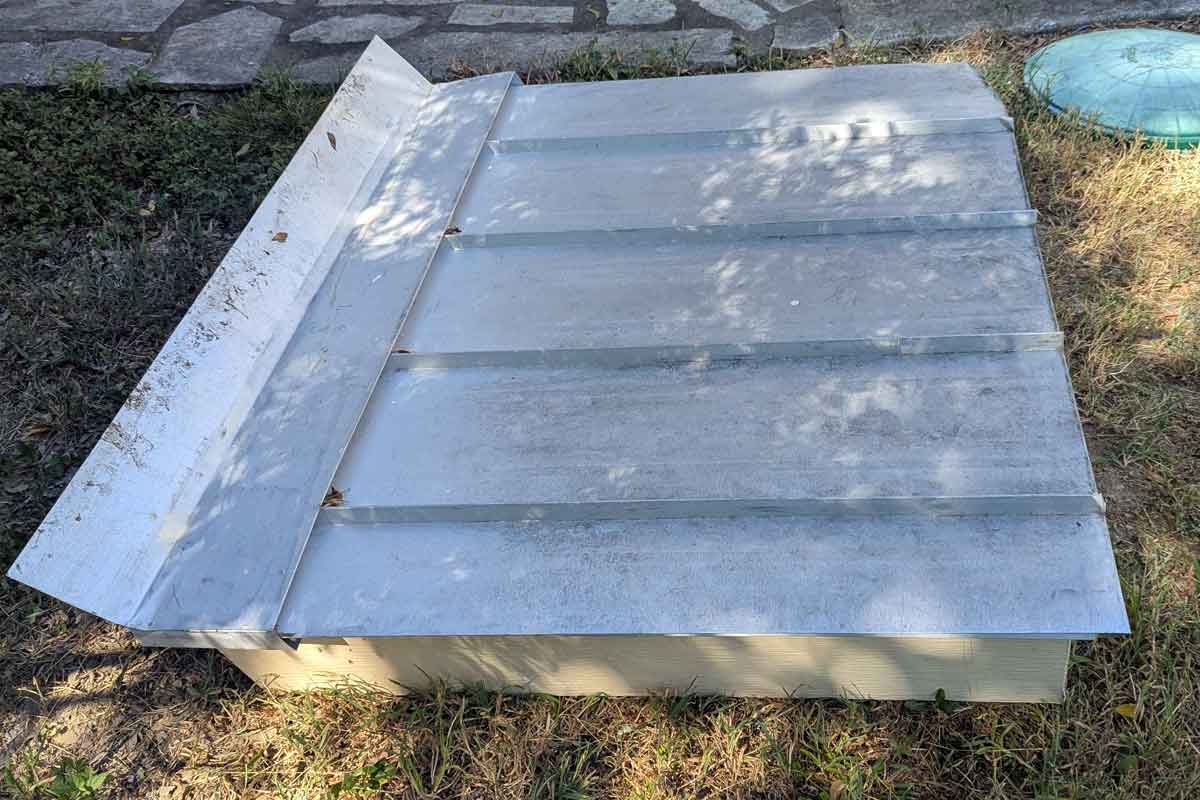
Metal roof and Flashing
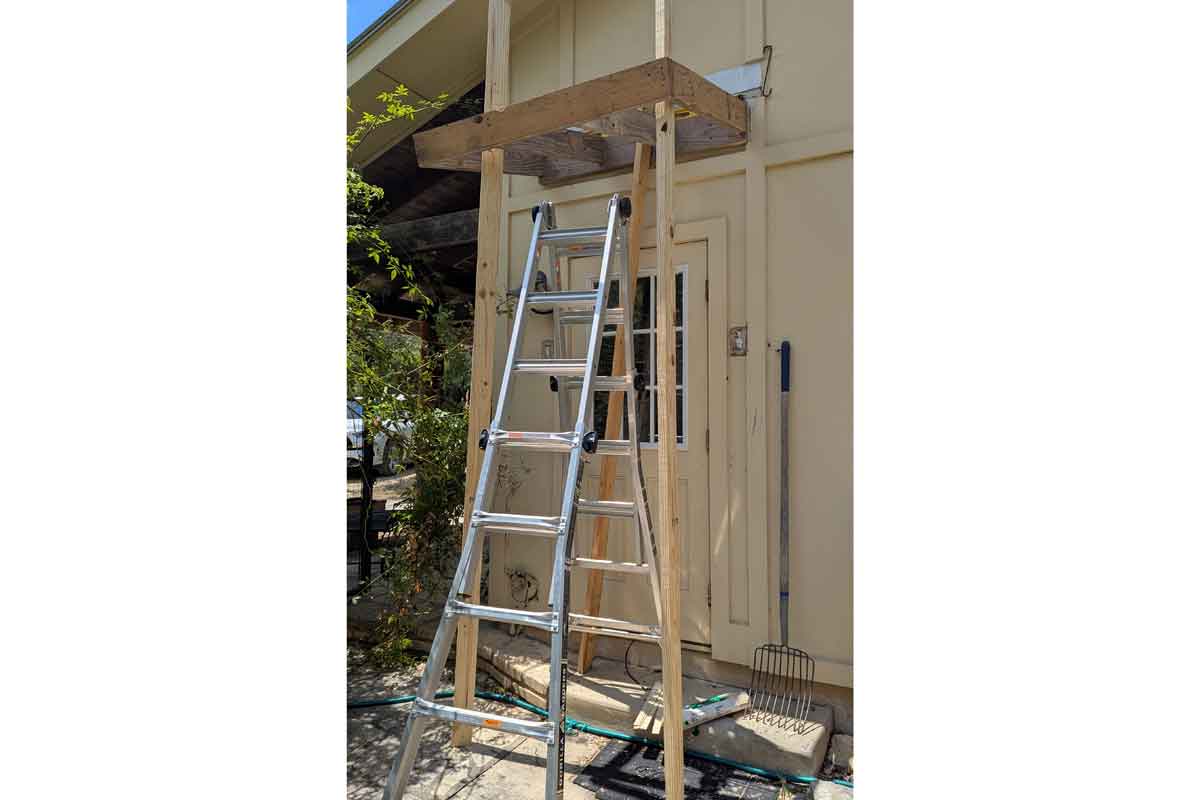
14′ studs let me get the frame/header square/plumb and at the proper angle

Drywall work
Finished view, before landscaping is put back
Before the trim boards are added
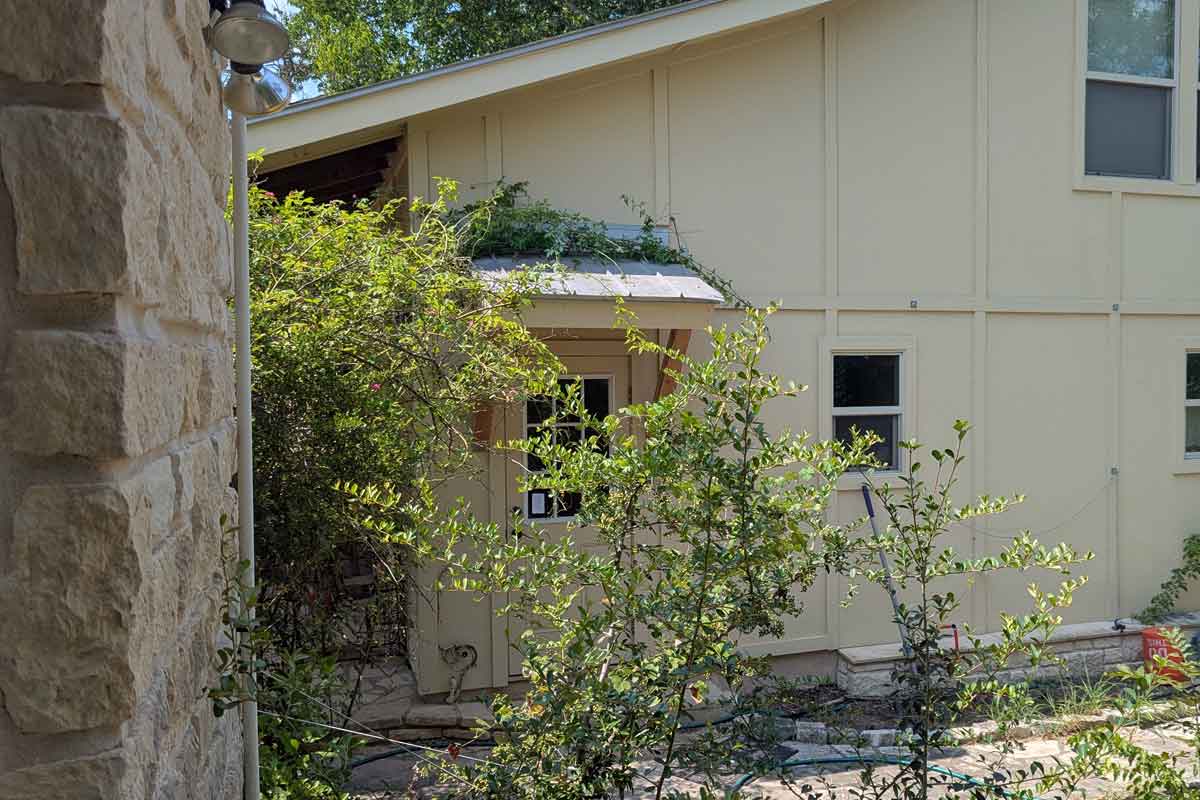
The finished view from the back yard
Another view with the whole “bunkhouse”
Making progress
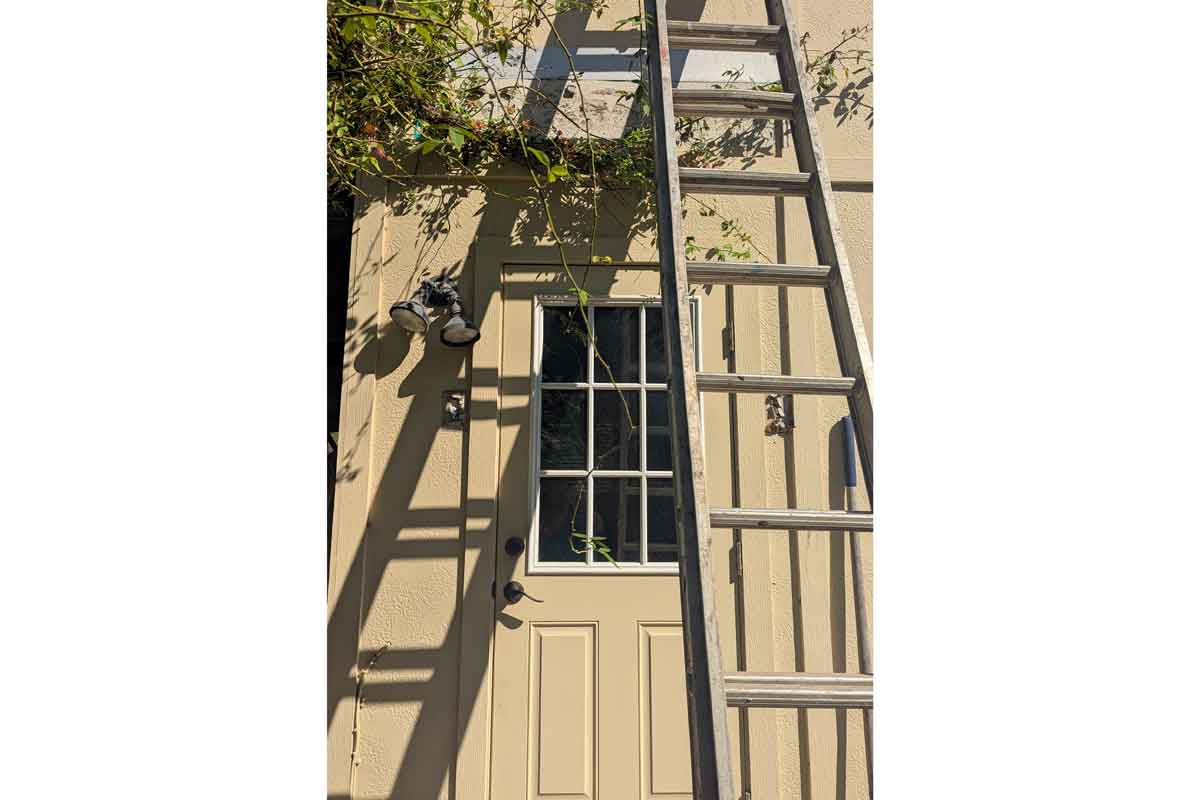
Finished after adding back the rose bush vines
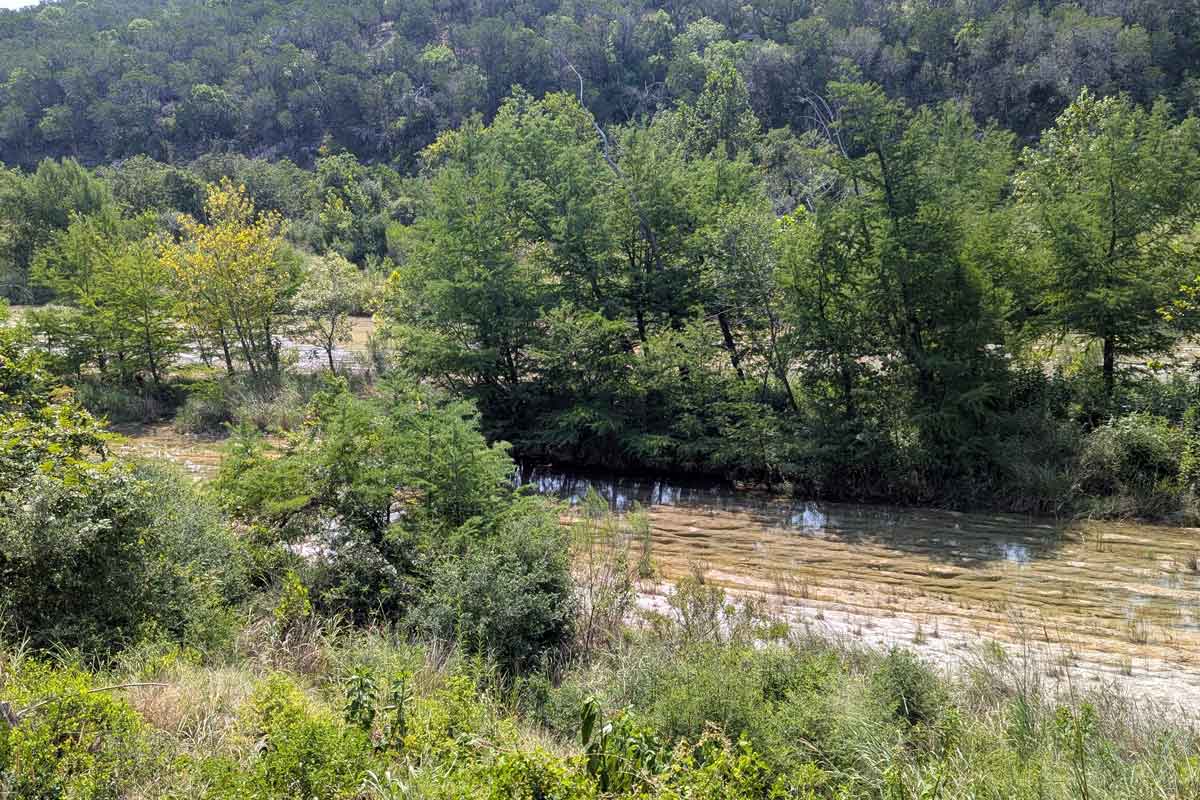
Had to add in the gorgeous view from the back yard of the Blanco River (the flood in 2015 reached the eaves of the 2-story house)