Refinished Wood Floor

From Worn to Wow: How We Revitalized Our Pine Wood Floors
Giving Our Old Pine Floors a New Lease on Life (and a Proper Refinish!)
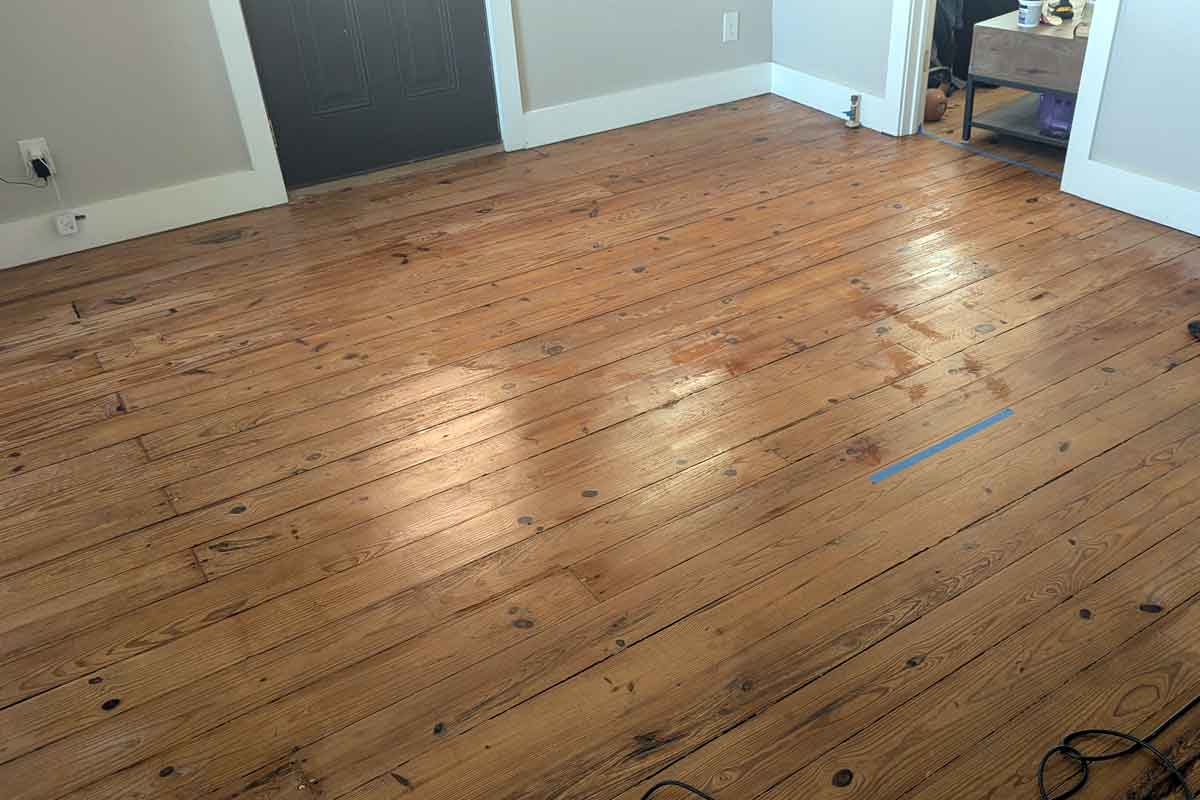
Our farmhouse in the country is always a work in progress, and the latest big undertaking involved extending the front porch. While we were at it, I figured it was high time to tackle the interior floors, specifically the old, worn-out pine planks in the kitchen and living area. We’re talking about approximately 400 square feet of well-loved, but also well-worn, history. The goal? A complete refinish of the pine wood floors to complement the space with a fresh, cohesive look. This project had its moments, for sure, but we finally gave our 100-year-old pine wood floors the beautiful refinish they deserved, bringing new life to our old farmhouse.
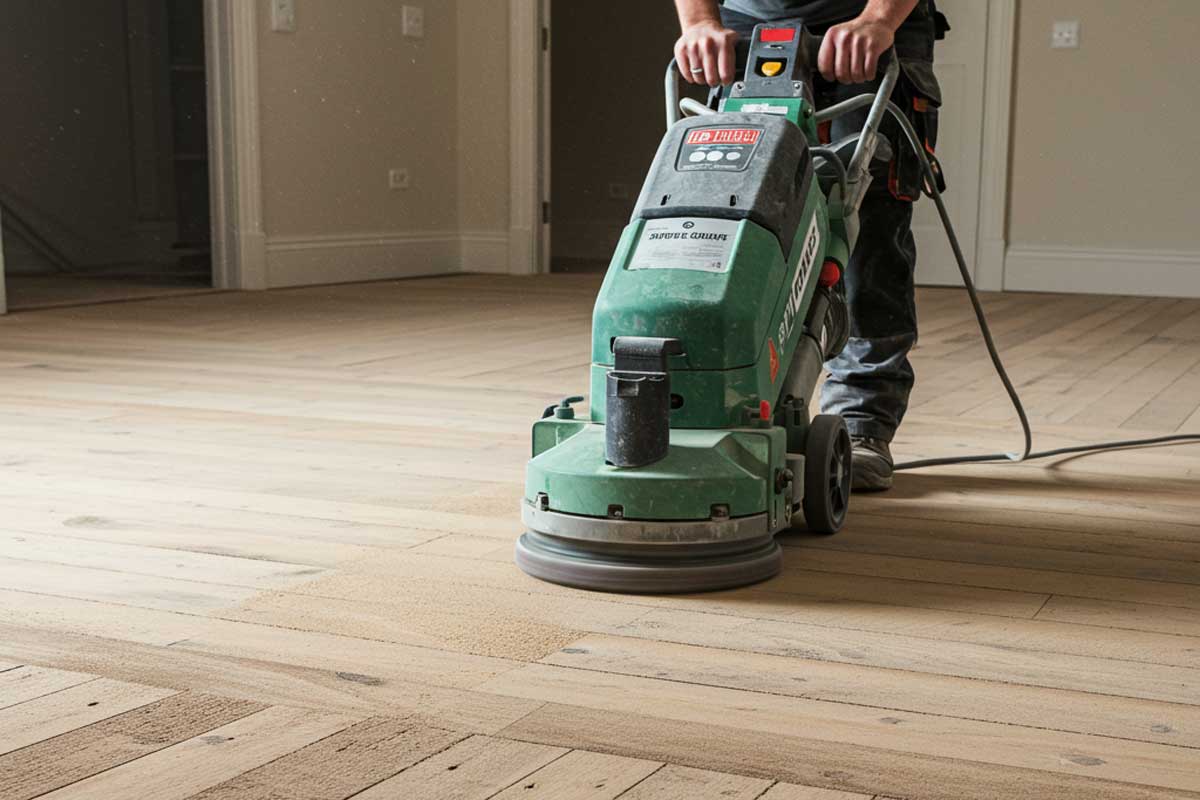
The Big Sanding Adventure
First things first, we needed to get serious about sanding. So, we rented an industrial sander. This thing was a beast! We started with a rougher grit, really getting into the imperfections and old finishes. It kicked up a ton of dust, even with all the windows open and fans blowing, but it was satisfying to see the original pine starting to peek through. After the initial pass, we switched to a finer grit. This second sanding really smoothed things out, prepping the surface for the next steps. It takes time, patience, and a bit of muscle, but a thorough sanding is absolutely crucial for a professional-looking finish.
Addressing the Weak Spots
Of course, with an old farmhouse, you always run into surprises. As we sanded, we discovered that some sections of the pine flooring were beyond just a simple refinish. There were areas that were heavily worn, even showing signs of rot, especially near the kitchen sink. So, before we could continue, we had to get our hands dirty with some serious repairs. We carefully removed the damaged planks, being extra mindful not to disturb the surrounding good wood.
Once the old, rotten pieces were out, we also noticed that the subfloor in a few spots needed some attention. It was a bit soft and saggy, so we shored it up, adding extra support where it was needed. This isn’t the glamorous part of the job, but it’s essential for a long-lasting and safe floor. Then, we meticulously cut and fitted new pine planks, making sure they matched the existing ones as closely as possible. It takes a bit of finesse to get them to blend in seamlessly, but it’s totally worth the effort for the structural integrity and aesthetic appeal.
The Finishing Touches: Polyshade and Polyurethane
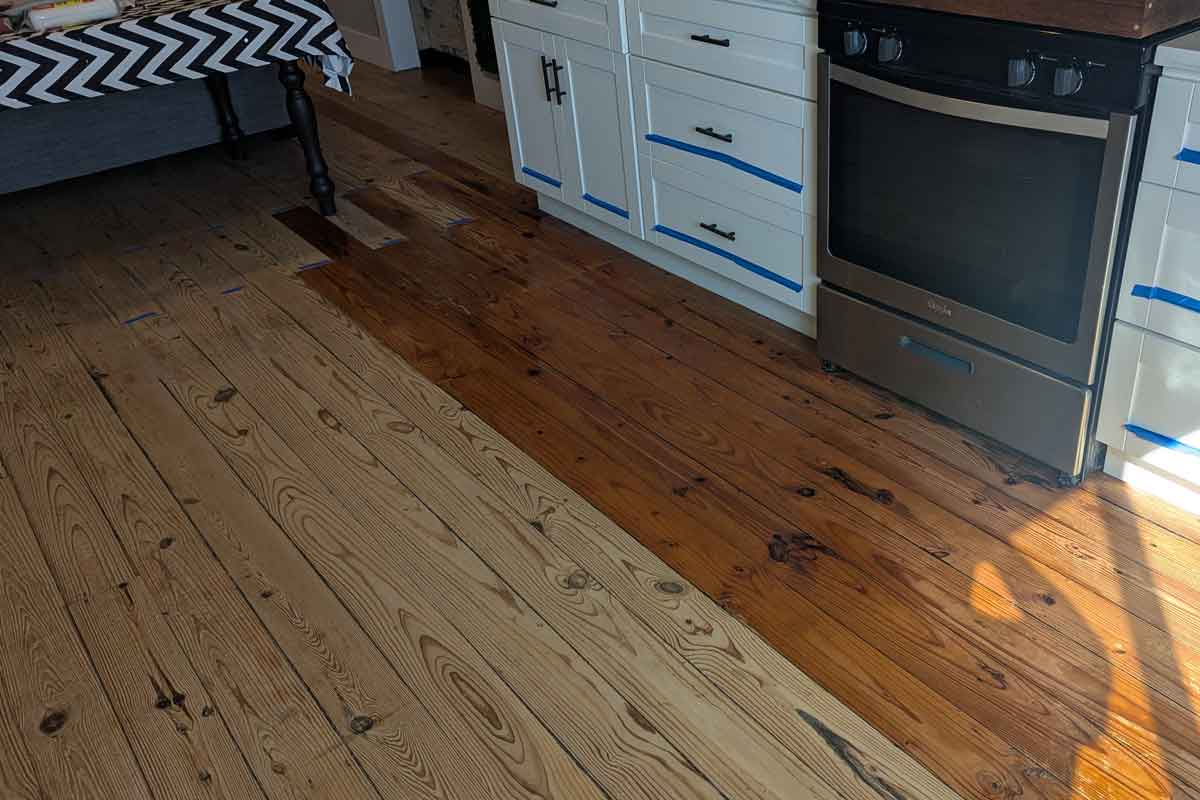
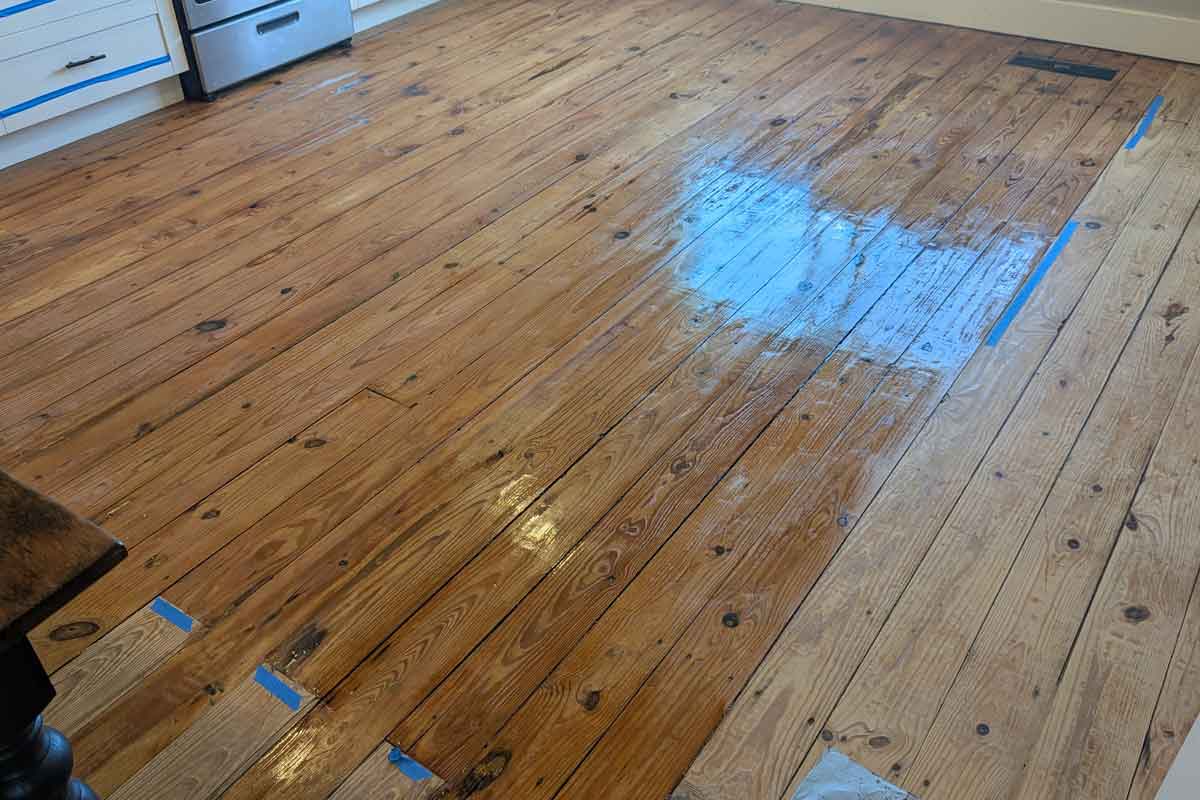
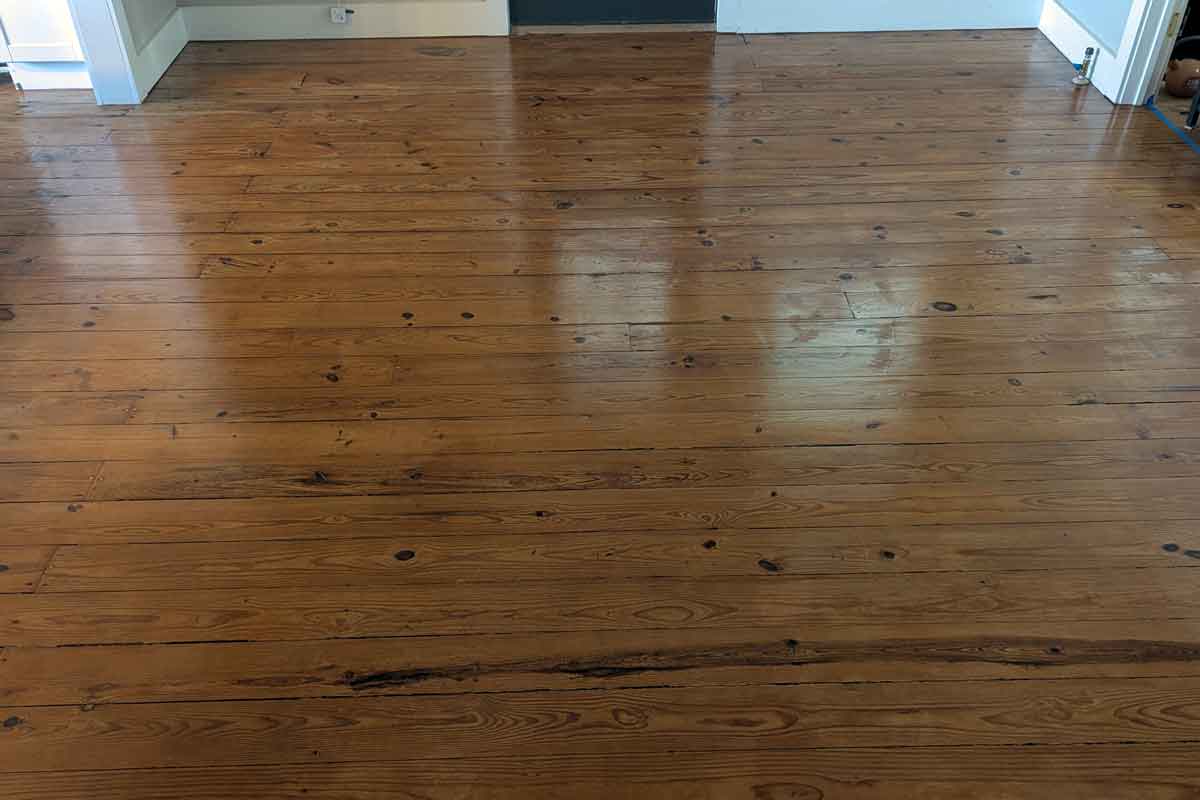
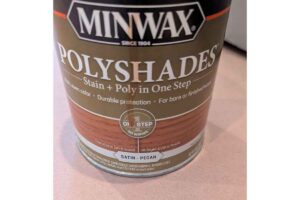 With the repairs complete and the entire floor beautifully sanded and smooth, it was time for the fun part: applying the finish. We opted for a layer of polyshade first. For those unfamiliar, polyshade is a great product that combines stain and polyurethane into one. This saves a step and provides a consistent color while also offering protection. We applied it carefully, making sure to get an even coat across the entire surface. The difference was immediate and dramatic – the warm tones of the pine really popped!
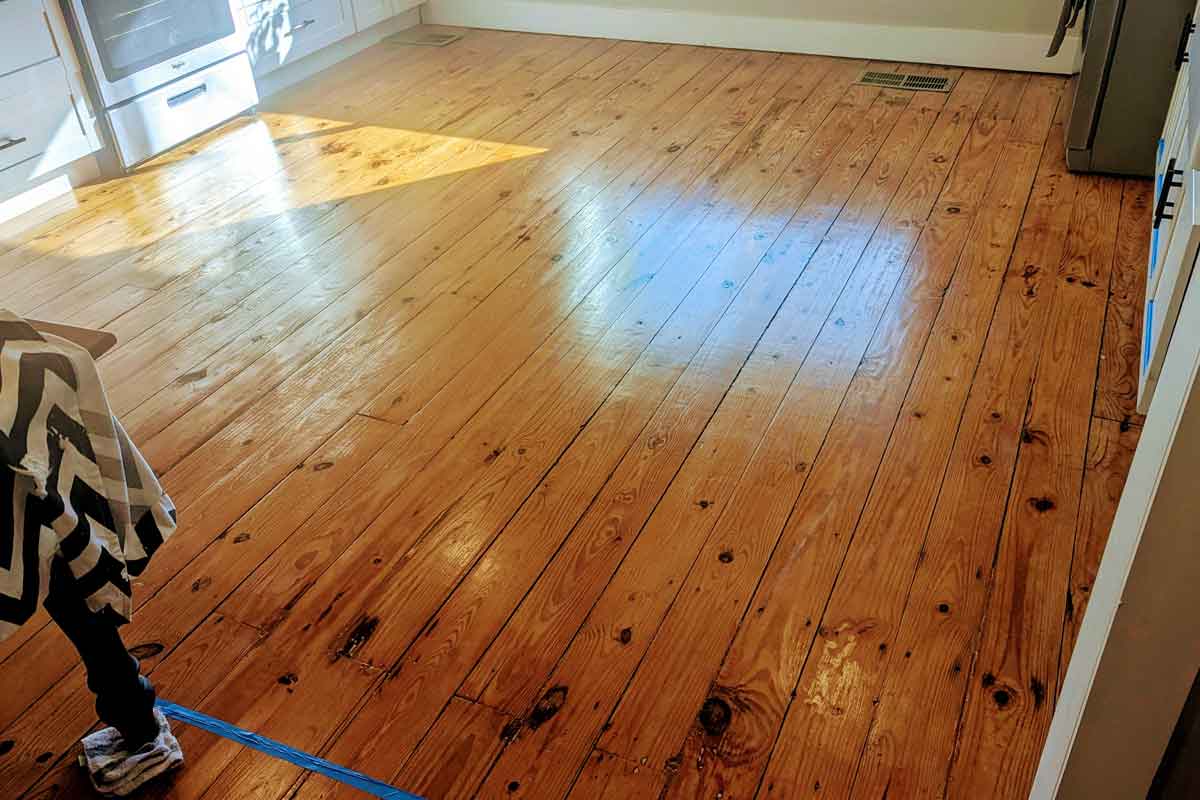
After the polyshade dried thoroughly, we moved on to the final layers of protection. We applied two coats of polyurethane, which really seals the deal and provides a durable, long-lasting finish. I recommend using a good quality brush or applicator to avoid streaks. Each coat needs ample time to dry completely before the next one, so patience is key here. It’s always tempting to rush, but trust me, waiting it out ensures a beautiful, smooth, and hard-wearing surface. The result is a set of refinished pine wood floors that not only look fantastic but are also ready to handle years of farm life.
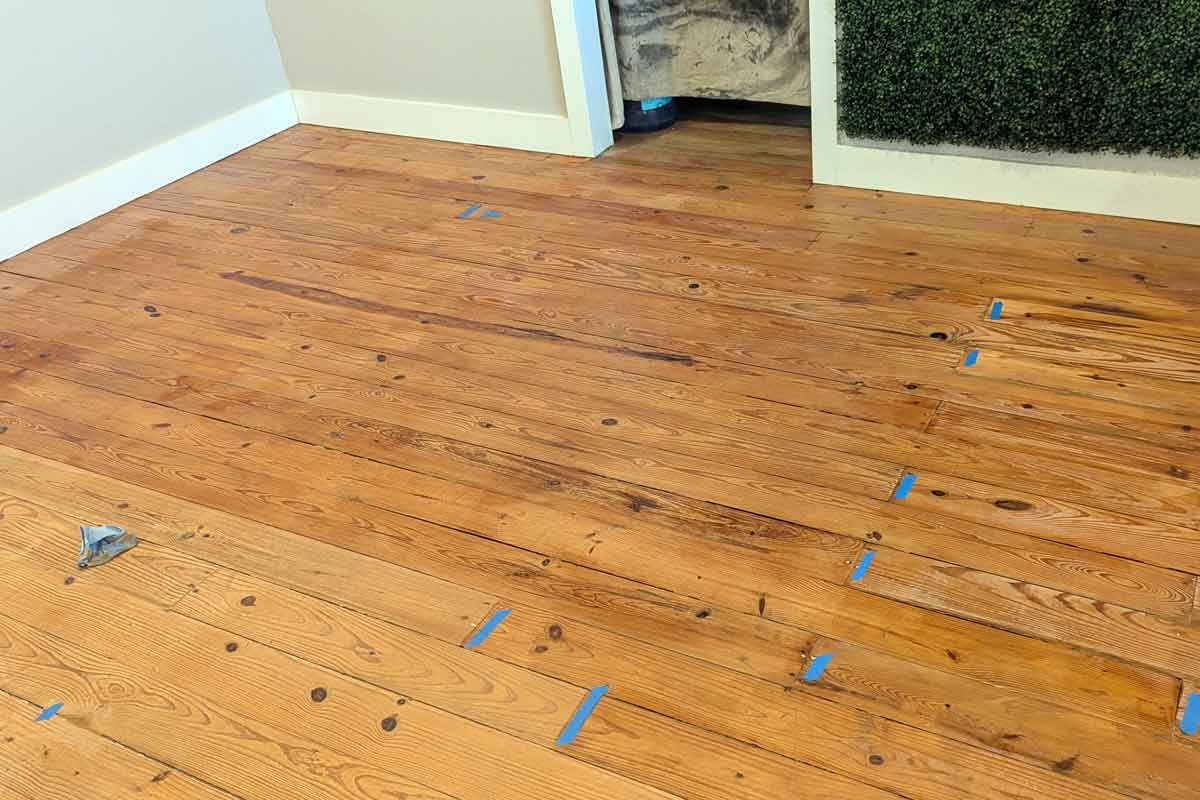
Our Refinished Pine Wood Floors Shine!
The transformation is truly remarkable. What was once a collection of worn, uneven, and sometimes damaged planks is now a beautiful, consistent, and inviting floor. It feels amazing underfoot and really ties the whole kitchen and living area together with the extended porch. The hard work definitely paid off, and it’s a reminder that with a little elbow grease and the right tools, you can bring old things back to life and make them even better than before.